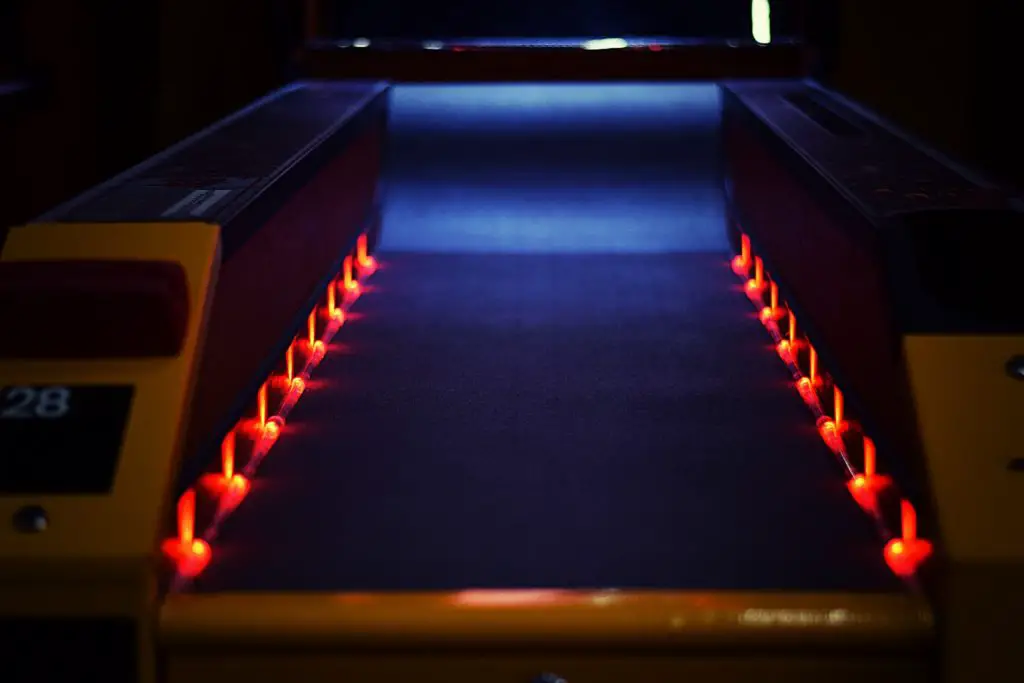

You may like visiting a bowling alley to have quality time with friends and family and enjoy the sport. But, what puts you back might be the discomfort that the holes in the ball cause. Also, as your performance depends upon your grip, it might be upsetting for you.
The great news is that you can position the holes according to your requirement. Let’s find out if you can drill one at home and avoid unwanted mistakes.
You can drill a bowling ball at home with the right tools, ball selection, and measurements. A bowling ball drill is necessary for this project, and a regular driller won’t yield good results. Pick the correct ball by going for the material and weight as per your preference. Measure the depth and position of the holes and drill them cautiously. Ensure to sand the holes well at the end.
Many professionals give services of drilling a bowling ball. But, it can turn out to be quite expensive. If you are familiar with power tools, you can try creating neat holes at home with the steps listed below.
Customizing A Bowling Ball; Here’s How To Do It
If you are a keen bowling player, you might know that brand-new balls do not have holes pre-drilled. The position of the holes has a major significance as it ensures you have a good grip on the ball. Besides, it is a sigh of relief when you have a customized configuration of holes. It is much more comfortable to hold and makes the game experience elevated.
Usually, the drilling process is done by professionals because it is a complicated process and requires precise measurements. If you accidentally mark the hole positions slightly off, it can affect your gaming performance. However, it is possible to do it at home by following the correct steps and techniques!
Gather The Right Tools:
Before initiating the project, it is crucial to arrange all the tools. If you don’t possess any of them, it can create trouble for you later. So, it is better to prepare yourself beforehand.
For drilling holes in the bowling ball, you require
- Bowling ball with any type of coverstock
- Power drill with interchangeable tips
- Sanding attachment
- Bowling ball holder
- Markers
- Rulers
- Cleaning cloth
Selection Of Suitable Ball:
Now that you possess all the tools, your next step is to select the right ball. There are different varieties available based on material as well as weight. It is up to you to decide which one will work the best for you.
Bowling balls usually are made of plastic, urethane, reactive resin, or particle. They all offer different amounts of friction against the lane surface. Furthermore, each of them provides a varying range of power and control. Plastic is preferable for beginners, while reactive resin and particles work well for advanced players.
Also, before drilling the holes, you need to experiment with different weights of balls to figure out which one is easier for you to hold and for play. It will help you in giving ideal results in the end.
Mapping The Grips:
After choosing the ball, it is time to map out the depth of the holes to be drilled. Different finger hole configurations will offer a varying amount of control and power. There are three main types of gripping holes that you can follow.
- With a conventional grip, you drill the holes deep enough that allows you to slide the fingers and thumb into the ball up to the second knuckle joint. It is a traditional hole setup, and people use it widely because of the ease of ball control. This configuration is ideal for beginners and average players.
- With a fingertip grip, you drill holes to the point that enables you to insert the finger inside the ball up to the first knuckle joint. It is an advanced hole configuration, and beginners might find it hard to get control. If you want more power, this is the option for you.
- With a semi-fingertip grip, your fingers can slide in the ball between the first and second knuckle joint. Professionals use this grip because it is difficult to control. However, it provides more power and force.
Take The Exact Measurements:
Once you are clear about what kind of grip you want, you can proceed to take the precise calculation. Start by taking the measurements of your fingers, including the diameter and depth of the knuckles. Also, observe the distance between these holes. Note all this data down on a page so that you don’t forget it afterward.
For depth, measure from the edge of the span to the end of your fingers that will go inside the holes. Take your time figuring out these measurements, as they are of primary importance. The correct hole positioning is what will make the grip comfortable.
Mark The Position Of Holes:
When you are finally satisfied with the accuracy of your data, it is now time to mark them on the bowling ball. For this purpose, you need to pick an angle at which you want to locate these finger holes. Go for forward-angles if you need more lift while bowling. It can be anywhere between 10 to 90-degree, depending upon what best fits your hand. The angle will determine your comfort and performance while holding the ball.
Now you can move on and mark all the holes appropriately. You can use an erasable marker or a piece of chalk to highlight the center of the spot where to drill the holes. You must be extra cautious and ensure the holes are at least an inch away from the bowling ball’s pin. You can locate it as it is usually different in color from other ball parts.
Choose The Drill Bits:
Choose the correct drill bits size to create perfect holes for your thumb and fingers. There are several drill bits types available in the market. You might get confused about which ones to pick. A simple way to determine it is through experimenting with various bits.
Take a wooden block and drill holes of different sizes using different drilling bits. Afterward, insert your thumb and fingers into all of them. It will allow you to have a guideline about which one proves the most comfortable for you.
Drill The Holes In The Ball:
You are now successfully at the final stage, drilling the holes. It is recommended that you should for a bowling ball drill for this DIY project. Performing this task with an ordinary drill machine can cause severe damage to the ball that you intend to drill.
The second step is to insert the right bit into the drilling machine. Clamp the marked bowling ball securely in place with the help of a bowling ball holder. Ensure it is tight enough so that the ball does not move around or spin while drilling the holes. If you let it loose, it will result in uneven drilling and waste all your efforts.
Drill the thumb hole slowly at your preferred angle, checking the depth side by side to prevent unwanted deep drilling. Once you complete creating ]the first hole, switch the bits and drill the corresponding finger holes.
Sand And Smooth Out The Holes:
In the final stage, you have to refine the freshly drilled holes. For this purpose, replace the drill bit with a sanding attachment and gradually start sanding the inner portion of the holes. Continue doing the process until the holes are smooth enough, and fingers can easily glide in and out of them without getting hurt.
Conclusion: Drilling a bowling ball at home allows for creating a custom ball that fits your fingers perfectly. It will make the sports experience much better. Also, it will take away the discomfort and pain that comes with using a ball that is not suitable for your hands. All you want is a few essential tools and measurements, and you can give it a go.