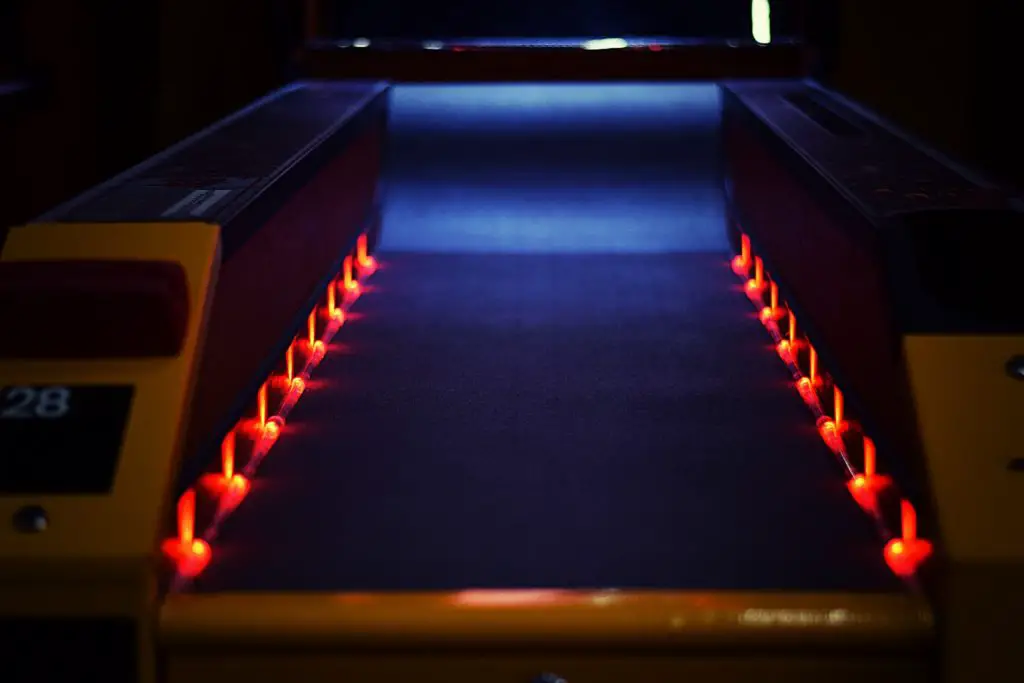

If you love the sport of bowling, chances are you’ve probably spent some time polishing your skills. Most bowlers practice regularly to get the most out of their lanes.
Polishing a bowling ball is as important as practicing with it for many bowlers.
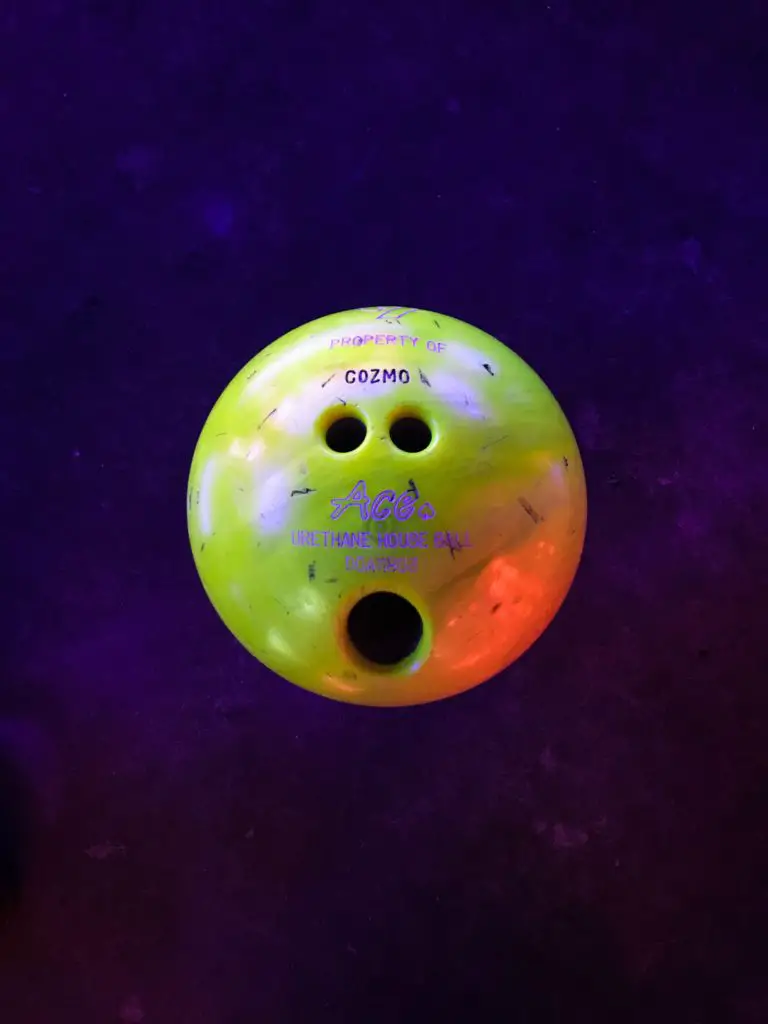
The right ball can make all the difference when perfecting your game. Paying attention to the little details when polishing a bowling ball can help you get the most out of your practice time. If you’re ready to start polishing your bowl, follow these steps to get a shiny, smooth ball in no time.
Step One: Gather Your Tools
You’ll need some essential equipment to polish a bowling ball. A Dew-Stick and sandpaper will be the essential items in your arsenal. A great place to start is with your sandpaper. It’s critical to choose the right sandpaper for the job.
Rough sandpaper that’s only a few grits over the desired finish will make your ball too smooth. A more uneven finish is fine for sanding the cover, but you’ll need a finer grit to remove the dust and scuff marks. Once you’ve got a rough idea of what spirit you want to use, it’s time to choose a surface to sand the cover.
A table will work great, but any smooth surface will do. A floor is a terrible choice because particles will get embedded in the fibers with every step. When choosing a table, it’s essential to use a surface that won’t mark your ball.
A granite countertop will leave rings to mar your finish, but most surfaces will leave scuff marks on your cover. You’ll also need some bowls to test your ball in. You can use any bowls with the exact specifications as your setup.
A standard-volume ball will work well in most setups.
Step Two: Remove the Cover
Once you’ve got your tools ready, it’s time to start taking the cover off your ball. You’re going to remove the ball’s surface and then sand the body. First, you’ll want to remove the cover by popping it out of the sleeve. Once the body is loose, it’s time to start sanding.
Step Three: Sanding
The first step in sanding your ball is to remove any dust and debris. Use a damp cloth to wipe off the cover. Don’t use water or sandpaper that is too wet because you don’t want to leave sand marks that will mar the finish. After you’ve cleaned the cover, you can start sanding.
The ideal ball for polishing a bowling ball should have a smooth cover but a medium-fine texture. Samples of sandpaper come in a variety of grits. It’s essential to sand the body with the same spirit you’ll be finishing with.
This ensures that you’re removing the same amount of material. You may have to switch between grits to get the correct result. A low determination will remove too much material and make the ball smooth, while a high spirit will remove too little material and leave the ball with a coarse texture. Find the energy that gives you an ideally smooth surface.
Step Four: Buffing
Once you’ve sanded the cover, it’s time to polish the ball. A medium sanding grit will leave the body with a medium-fine texture. It will also remove any dust and debris from the body from the last step. You’ll want to apply an even coat of wax to the body and then buff the ball to work the wax into the cover.
A soft, dry cloth works great for applying wax. You’ll want to gently buff the ball to work the wax into the cover and remove any excess wax with a clean cloth.
Before you buff the ball, it’s essential to check the ball for imperfections.
A polished ball has no surface imperfections, and it will look great. If there are any blemishes on your prom or the lane, you need to correct any defects on the ball.
Step Five: Polish
The next step in polishing a bowling ball is to polish the cover to a mirror-like finish. You can use one of these polishers or use your more effective method.
Applying wax to the ball will protect the cover against friction and damage, but it also works as a polish, so you don’t have to worry about buffing the ball for hours and hours. Once you’ve applied a small amount of wax to the cover, you can use a soft cloth to polish the ball with medium-grit sandpaper.
A small amount of wax on the cover will protect it from damage while polishing and if you screw up, just clean up the damage with some non-microfiber cloths or paper towels instead of ruining an entire polishing session.
This technique removes scratches on your cover and leaves it smooth like glass. After you’ve polished your ball, give it some time to dry by putting it in an air-conditioned room or place it outside in an area protected from direct sunlight or rain. Once your bowling ball is dry, inspect it again and see how much smoother it is after polishing! If there are any blemishes on your bowling ball, give them another shot at removing any imperfections from your bowling ball.
FAQs
Q: What Is the Best Way to Care For My Bowling Ball?
A: For the best care, keep your bowling ball in a dry environment. You can also store your bowling ball in a dry area, but that should be the smallest containment space available.
Q: How Long Will It Take Before Polishing My Bowling Ball?
A: The time to polish your bowling ball will vary depending on how badly you need your balls polished and how much work you put into polishing them. You can never polish a bowling ball too much or too little because it will look horrible when you do, and this is why you need to take your time while polishing each one.
Q: Is There Any Way to Polish My Bowling Ball Without Wax?
A: If you want to avoid using wax, there isn’t any other way to polish a bowling ball without wax. All of our customers that want their balls polished without using wax are happy with their choice of using our products because they work perfectly fine whether you need your balls polished or not!
Q: Why Do I Have Small Bits of Dirt on My Cover After I’ve Polished It?
A: Small bits of dirt stuck on your cover may have been picked up when cleaning the ball. Any bits of dirt or debris on your body will prevent it from staying clean and looking pristine after being polished. We recommend using a proper clean cloth to clean the ball after polishing it to prevent this.
Final Notes
Polishing a bowling ball is an art form. It’s a process that takes time and patience. You want to make sure that you’re sanding the cover with the correct grit and buffing the ball with suitable polish. You’ll need to experiment to find the right combination for your prom.
When you’ve polished the ball to your liking, you can take it to a professional polisher to get it truly shine. If you’re ready to polish your ball, follow these steps. The right tools, grit, and polish will help you get the most out of your practice time.